Mario Kart Dev Diary: Blender Camera Positioning
1 min
Cinematic Cameras
At first the cinematic cameras were hard coded. This was for the BETA to show off that we had cinematic cameras but it was specifically designed for Mario Kart Stadium and that’s it.
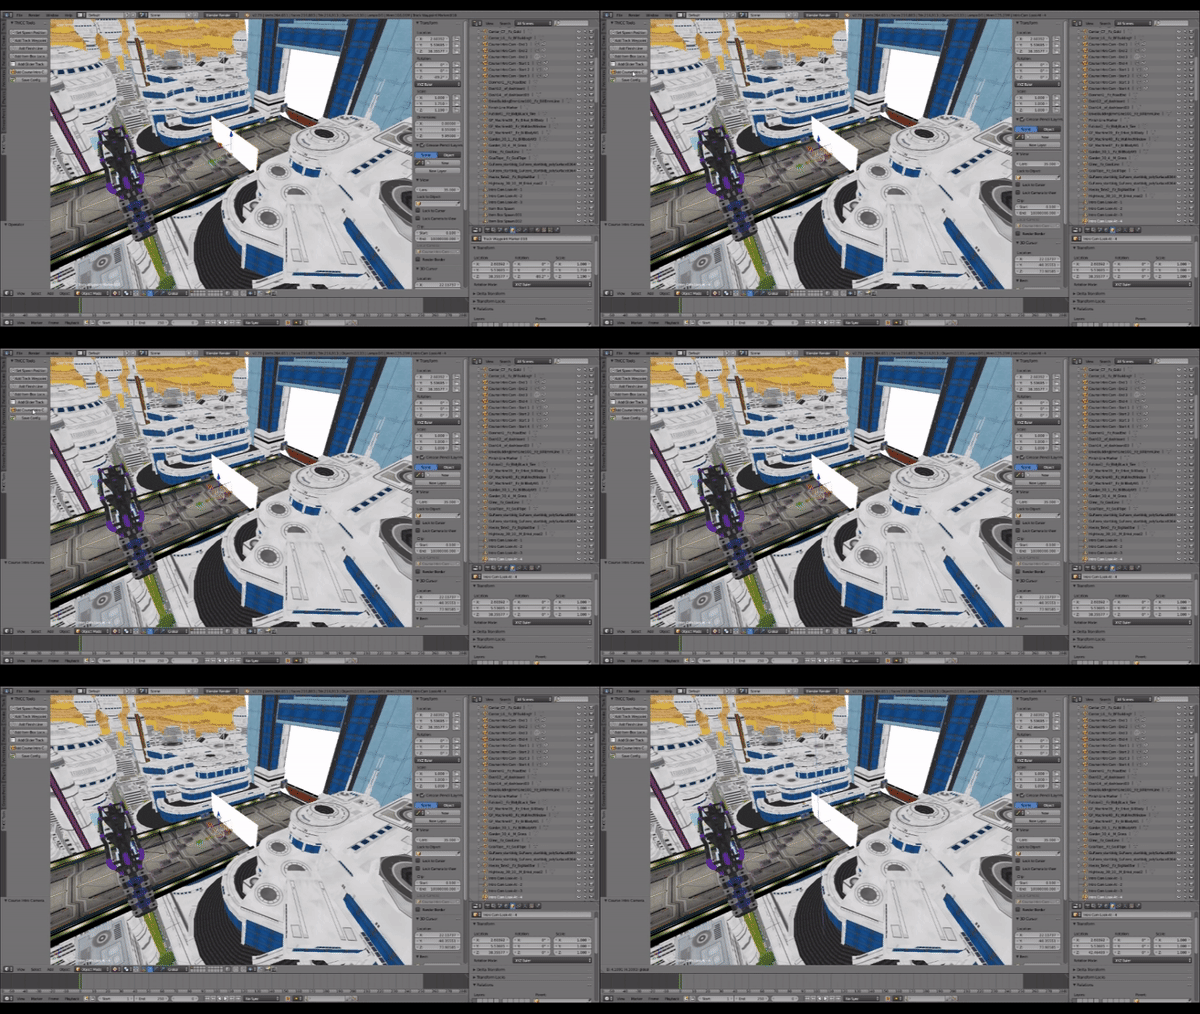
This was changed when the blender plugin was complete. It allowed for the user to position two cameras in blender and a look at point, save those values, read them in to Direct X and get the cinematic camera to follow those positions. The gif below shows the blender tool in action. The user clicks to create the cameras and the look at position and the camera always point to where the look at position is. This allows the easier visualization of how the cinematic will look.

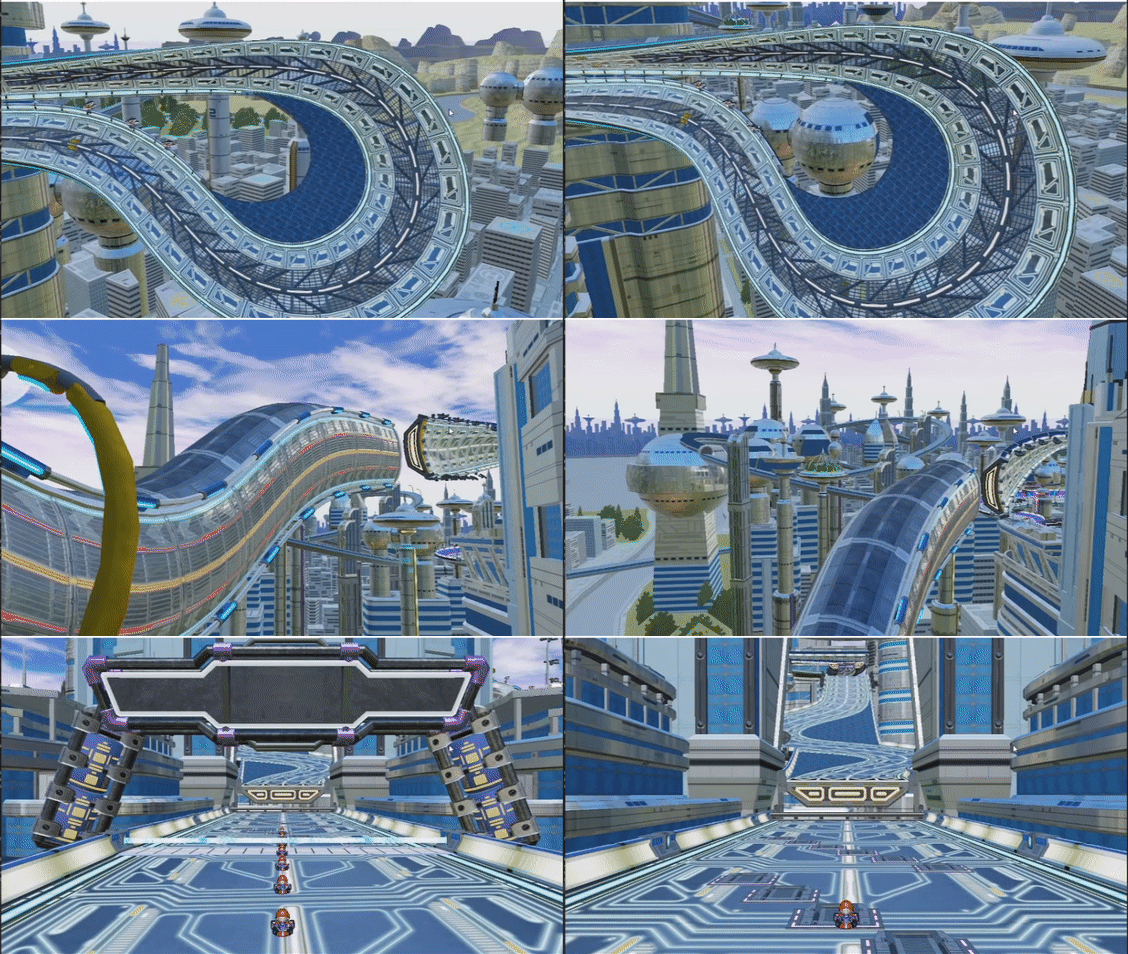
This was done by storing a vector of Vector3 and when reading in the data from a Json file. The cinematic camera loops through until it is finished. This allowed the user to customize cinematic camera intros for any track they imported or created, allowing for any amount of cinematic cameras. The gif below shows the cinematic cameras that were set up using the blender plugin for Mute City.

Subscribe
Subscribe to this blog via RSS.
Categories
Low level programming dev diary 28
Text based adventure dev diary 6
Level design developer diary 3
Game engine programming dev diary 14
Audio-visual production dev diary 7
Recent Posts
-
 Posted on 27 Feb 2020
-
 Posted on 27 Feb 2020
-

Audio-Visual Production: Particle System Mesh Spawning Issues
Posted on 20 Feb 2020 -
 Posted on 12 Feb 2020
Popular Tags
Low level programming dev diary (28) Text based adventure dev diary (6) Level design developer diary (3) Post mortem (4) Ex-machina dev diary (11) Game engine programming dev diary (14) Network game dev diary (11) Audio-visual production dev diary (7)